


Guide to Create a Clipping Path in Photoshop
Install a suitable version of Adobe Photoshop on your PC and then apply the stepwise guide below to clip out the unwanted background from your images:
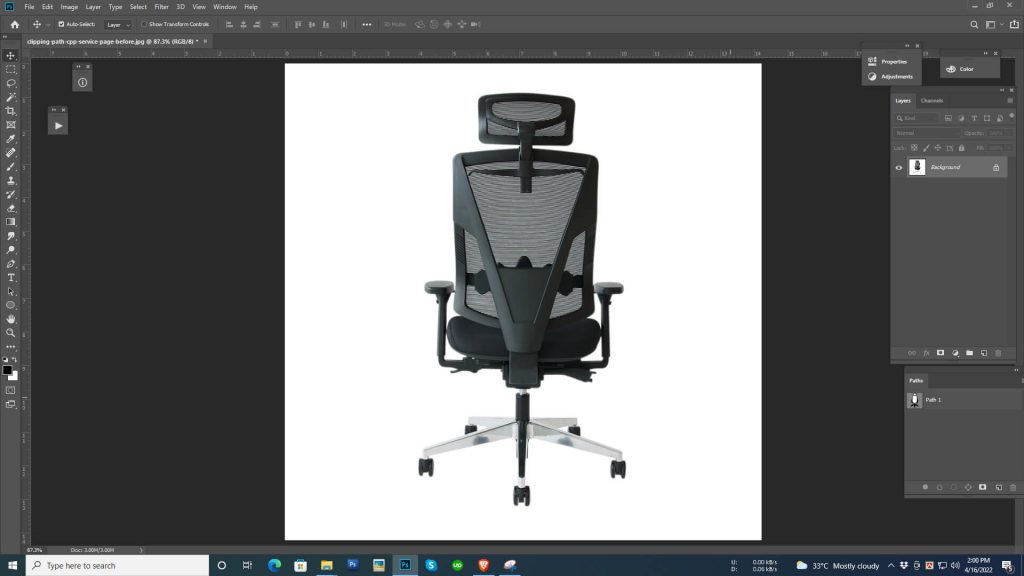
Step 1: Find and click on ‘File’ situated at the top left corner of the software interface and then scroll down to the option ‘Open’. Next, you will be directed to your PC local drive where your images are stored. Select your desired image, then click on ‘Open’.
Step 2: Now, go on to the toolbar palette on the left-hand side of the software to select ‘Pen Tool’. Alternatively, you could hit the hotkey ‘P’ on your keyboard. Your mouse will immediately switch to what you see in the image below:

Step 3: Use the ‘Pen Tool’ to draw a path around the subject or object in your photograph. Ensure that the path created is properly drawn.
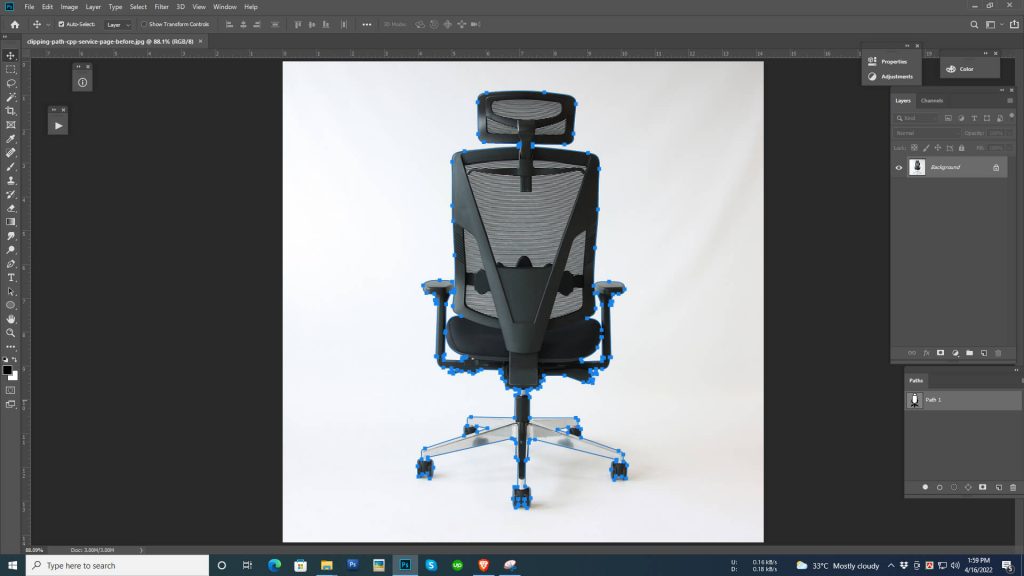
Step 4: Next, you have to refine your selection to get rid of unwanted paths or perfect your path creation. To do this, see the bulleted steps below:
- Select the ‘Direct Selection’ tool found underneath the ‘Path Selection’ tool and then zoom in on the image so you can easily draw a clear path
- Should you make any mistake by missing out on an anchor point, select the ‘Pen Tool’ with ‘+’ on it. The ‘+’ lets you insert an anchor point wherever it’s missing.
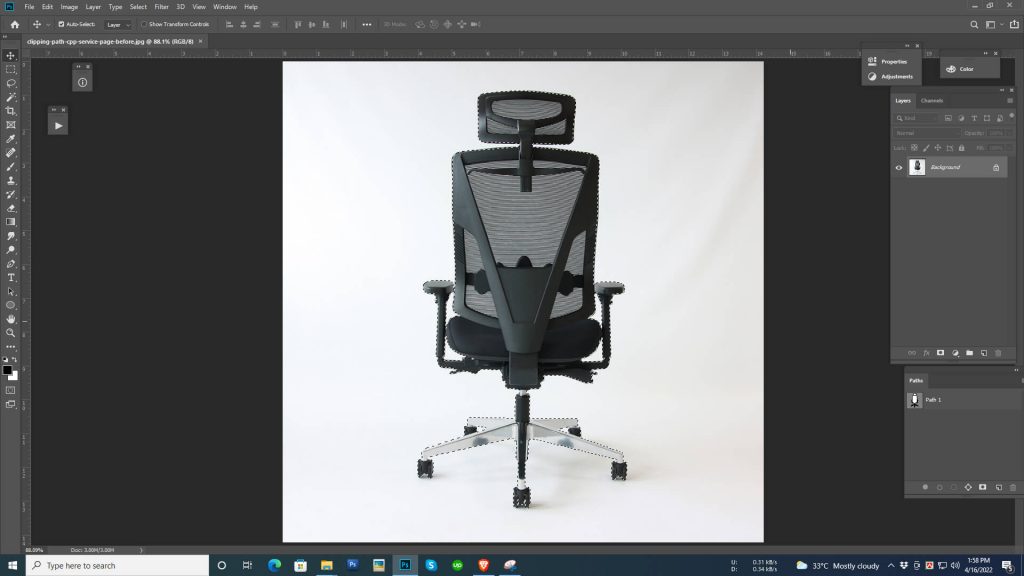
Step 5: Now select the path from the path panel then click the Make Selection tool from the top menu.

Then a dialogue box will appear on the screen. Now set Feather radius 0.5 then hit the OK button.

Now path will be selected around the Object.
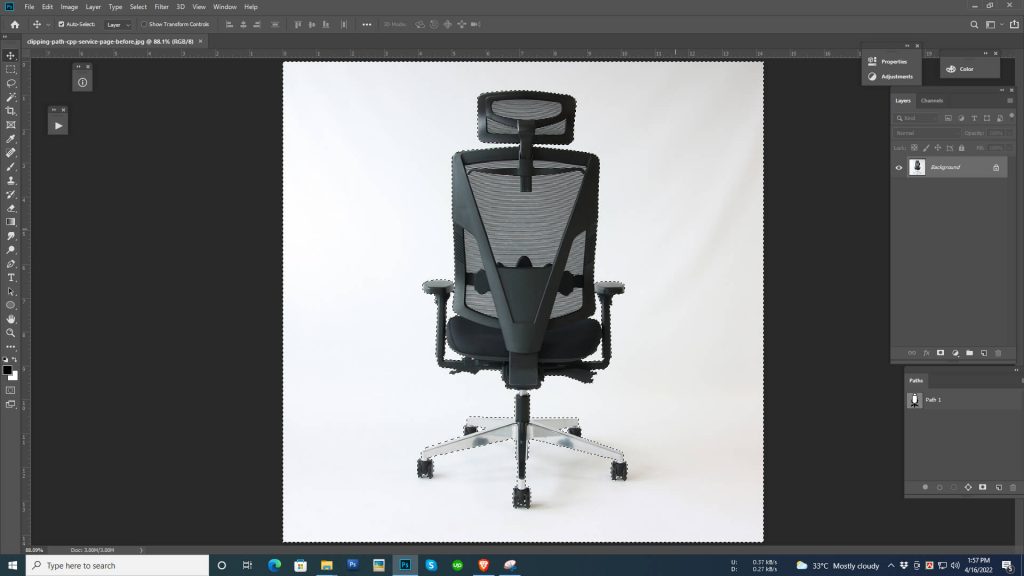
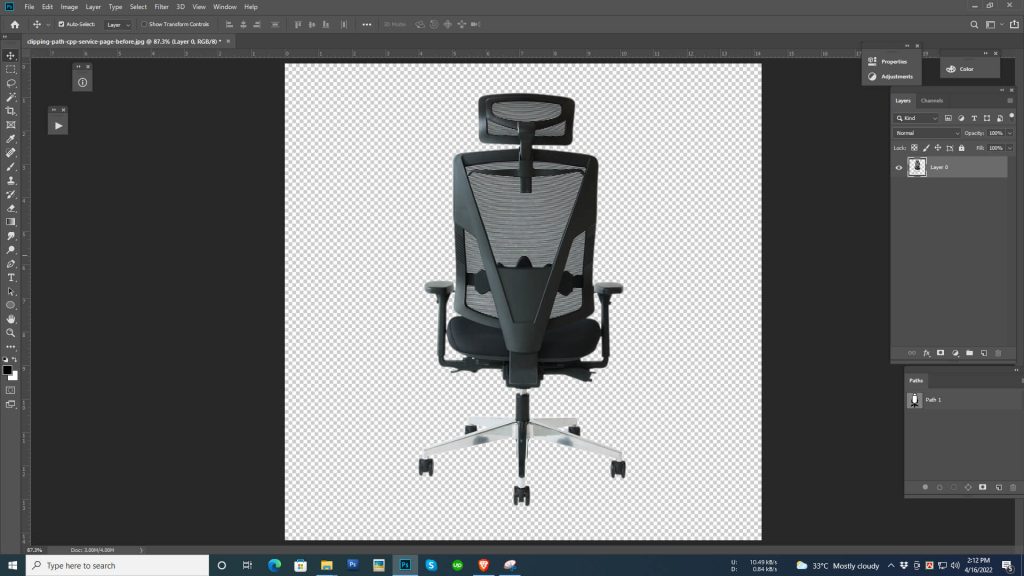
Step 7: Now, we have to unlock the original layer. Click the “lock” icon then the layer will unlock automatically.
 Step 8: Hit the ‘Backspace’ or ‘Delete‘ button on your keyboard to delete or erase that background from your image.

Very good post. I absolutely appreciate this website. Stick with it!
Thank you so much! Let us know if you need these service.
Good post! Very Helpful.
Thank you.